When I was in high school I took one of those silly class trips to Costa Rica. Oh you know what I'm talking about: one of those trips that companies market to parents and teachers as great learning experiences for the young Spanish language student, but are in fact tidy commercial packages that involve schlepping said students from tourist trap to tourist trap, putting them up in 2 and a half star hotels designed for such tourists, and feeding them (awful) American friendly food. While the country was absolutely beautiful, I didn't learn a lick of Spanish and worst of all, the food was atrocious.
In fact, what I remember most from the trip is the day that my friends and I took a long walk down the road from our hotel and discovered a little cafe-again, obviously targeted towards the American tourist-and to our delight found that the restaurant served bagels. After having eaten horrible Costa-merican food (eg. lasagna layered with cheese and papaya sauce) for several days, we were delighted. The bagels were still awful but I guess the big ball of dough with a hole in its center was enough to please us at the time.
I was reminded of this story today. This morning I took a little spill off of my bike, and as I sat feeling sorry for myself I began to develop cravings for a bagel--a bagel and cream cheese are my comfort food. But alas, to my knowledge, there is not a good bagel option in the triangle area. And so I've decided: I'm making it my personal goal to find a descent Piedmont, NC bagel. I know, we don't have the NYC water, but whatever, despite this fact it seems like it should be possible to bake a descent bagel.
Anyone have suggestions for places to try?

Wednesday, April 6, 2011
Sunday, March 6, 2011
Pear galette and most amazingly flaky crust ever

See that photo? Know what those are? Those are victory hands. Because I did it-finally! I made a super-flaky crust (for a gallette-but i think it could be used for a pie or tart crust too).
Ever since I started making pies, 3 or so years ago, I've wanted to make a super flaky crust. And generally my crusts are okay, but they could be better. Usually they're just a little on the soggy side, or they're just not flaky enough.

Well I was looking through the Tartine Bakery Cookbook (the original not the new one) and I noticed their Fruit Galette recipe. They describe the crust for this galette as similar to a "rough puff pastry"-same ingredients as those in their flaky pie crust dough, but different method: more complicated. FOr quite some time, I was intimidated by this concept of a "more difficult/complicated" method. Finally, though, after one too many trips to Durham NC's Scratch Bakery--where one can find what are perhaps some of the best pies/tarts/pastries in the world-- I decided it was time I aimed for "more" in my pastry crusts; thus I broke down and tried this recipe.
And turns out the method was really not so bad. It involves rolling, layer by layer, cold hunks of butter into flour. The process was a bit messy but really not too bad and actually quite a lot of fun. And the result was just so rewarding.
And so I won't delay this any longer. Here and now, I give you the recipe for pastry crust that will change your life-or at least boost your self-esteem.
Adapted from the Tartine Bakery cookbook (the original), by Elisabeth M. Pruett and Chad Robertson (page 71).
For the dough: (this makes enough dough for 2 large galettes, or 12 small galettes)
INGREDIENTS:
Very cold unsalted butter,-2 cups or 1 pound/455 g
Water -1 cup or 8 oz/250 ml
Salt - 1.5 tsp or 7 ml
*All purpose flour- 2 1/3 cups or 12 oz/340 g
*Pastry flour - 2 2/3 cups or 12 oz/340 g
(I suggest adding a tablespoon or so of sugar to this-not what the authors suggest but I thought a bit of sweetness in the dough might be nice)
SPECIAL EQUIPMENT:
Rolling pin
Bench scraper
Cookie sheet
*(NOTE: the authors say that a mix of all purpose and pastry flour is ideal. I didn't have pastry at the time and did without. The recipe came out just fine,a lthough next time I'll probably aim to go with the all purpose/pastry mix).
1. Cut the butter into 1-inch cubes and put into freezer.
2. Mix water with salt, and place in freezer.
3. Chill butter and water/salt mixtures for about 10 minutes.
4. Measure flour onto your work surface It's not necessary to mix the flours at this point, because they will get mixed as the dough is made.
5. Spread flour into a rectangle about 1/3 inch deep.
6. Scatter butter cubes on top of the flour. Toss some flour on the butter so that your rolling pin doesn't stick.
7. Start to roll butter into flour. When the butter begins to flatten into long and thin pieces, use a bench scraper to scoop up sides of the rectangle so that it's the size that you started with.
8. Repeat rolling and scraping 3-4 times .
9. Make a well in the center of the flour/butter mixture and pour all of your water/salt mixture into the center (this was a bit messy-next time I will incorporate the water slightly more gradually).
Using the bench scraper, scoop the sides of the dough onto the center, cutting the water into the dough.
10. Keep scraping and cutting until the dough is a shaggy mass, and then shape it into a rectangle that measures about 10 x 14 inches. Now, lightly dust the top of the rectangle with flour
11. Roll out the rectangle until it's twice as wide again and then scrape the top, bottom, and sides together until it is back to the original size. Reroll, and repeat 3 or 4 times until you have smooth and cohesive dough (I think I ended up rerolling quite a few more times-I didn't get a "smooth" and "cohesive" dough after 4 rerolls).
You should now have a nice neat rectangle that measures about 10 x 14 inches.
12. Transfer the dough to a large baking sheet, cover with plastic wrap, and chill well, about 1 hr (I actually extended the chilling to about...um...7 days. Turned out just fine).
13. When you're ready to roll out the dough, divide it into 2 equal portions if you're making large galettes or into 12 equal portions if you're making small galettes. Roll out into circles and transfer to a baking sheet (the authors have amazing instructions for rolling out into a circle. im not going to type all of that out, but you should buy the book. it's an awesome book anyways).
Chill the circles until they are firm.
**************************
I made a pear galette with this dough.
For the filling:
4 bosch pears,
1/4 spiced rum
sugar to taste
2 tablespoons ginger
PREHEAT OVEN to 375 degrees.
Peel and cut pears, length wise.
Place in a sauce pan over medium heat, add the spice rum, sugar and ginger, stir and cook down the pears, for about 10 minutes.
1. Place the pear filling in the center of the dough circle: leave about a 2 inch border for a large galette and about a 1 inch border for the smaller galettes.
2. Fold in sides of circles to cover the fruit-make sure not to leave any spaces from which fruit might leak out.
3. Chill until firm (I managed to skip this chilling step).
4. Brush sides of the galette with milk (or an egg wash as the authors recommend). Sprinkle with granulated sugar, and then bake!
5. Serve with vanilla ice cream.
6. Throw up your triumphant hands to celebrate your success baking a flaky dough!
Sunday, February 27, 2011
A very belated happy pie day

I am kicking myself for having recently been such a bad food blogger. My excuse, sad as it might be, is that I recently purchased Lightroom (Adobe's photo editing software). This was supposed to be the amazing software that is also user-friendly. Well, perhaps it is wonderful and does transform and restore one's otherwise mediocre photos into halfway decent pieces, but it's also a hell of a lot more challenging to use that I had hoped or anticipated. Meanwhile, I have tons of food photos on my camera that I now feel are un-blog-worthy in their unedited state. And so they've been sitting untouched, unblogged, unviewed, and utterly unloved. Until now.
Finally, I am breaking down; I haven't had the time to go through the lightroom tutorials, and the program is far from being point and clicky easy, and so I'm posting the raw photos in all their unedited glory--dark, overexposed, blurry, uncropped, etc. Forgive me.
And forgive me again-I can't even begin to recount everything that we've cooked in the past month and a half or so.
However, one of the highlights-no question-was Pie Day.
Oh yes indeed, the American Pie Council declared January 23 National Pie Day:
"National Pie Day? Well, why not? Pies have always been a sweet treat to warm the cold winter days and with the holiday celebrations a fading memory, this is a great way to warm up a January cold snap"
See here for more information: http://www.chiff.com/a/american-pie-day.htm
On the website the pie council offers many suggestions for ways to celebrate this holiday. For example:
1.) Eat pie
2.) Bake pie
3.) Share pie
4.) Teach pie making
5.) Hold a pie night...
...
Hmmm hold a pie night. What a good idea.
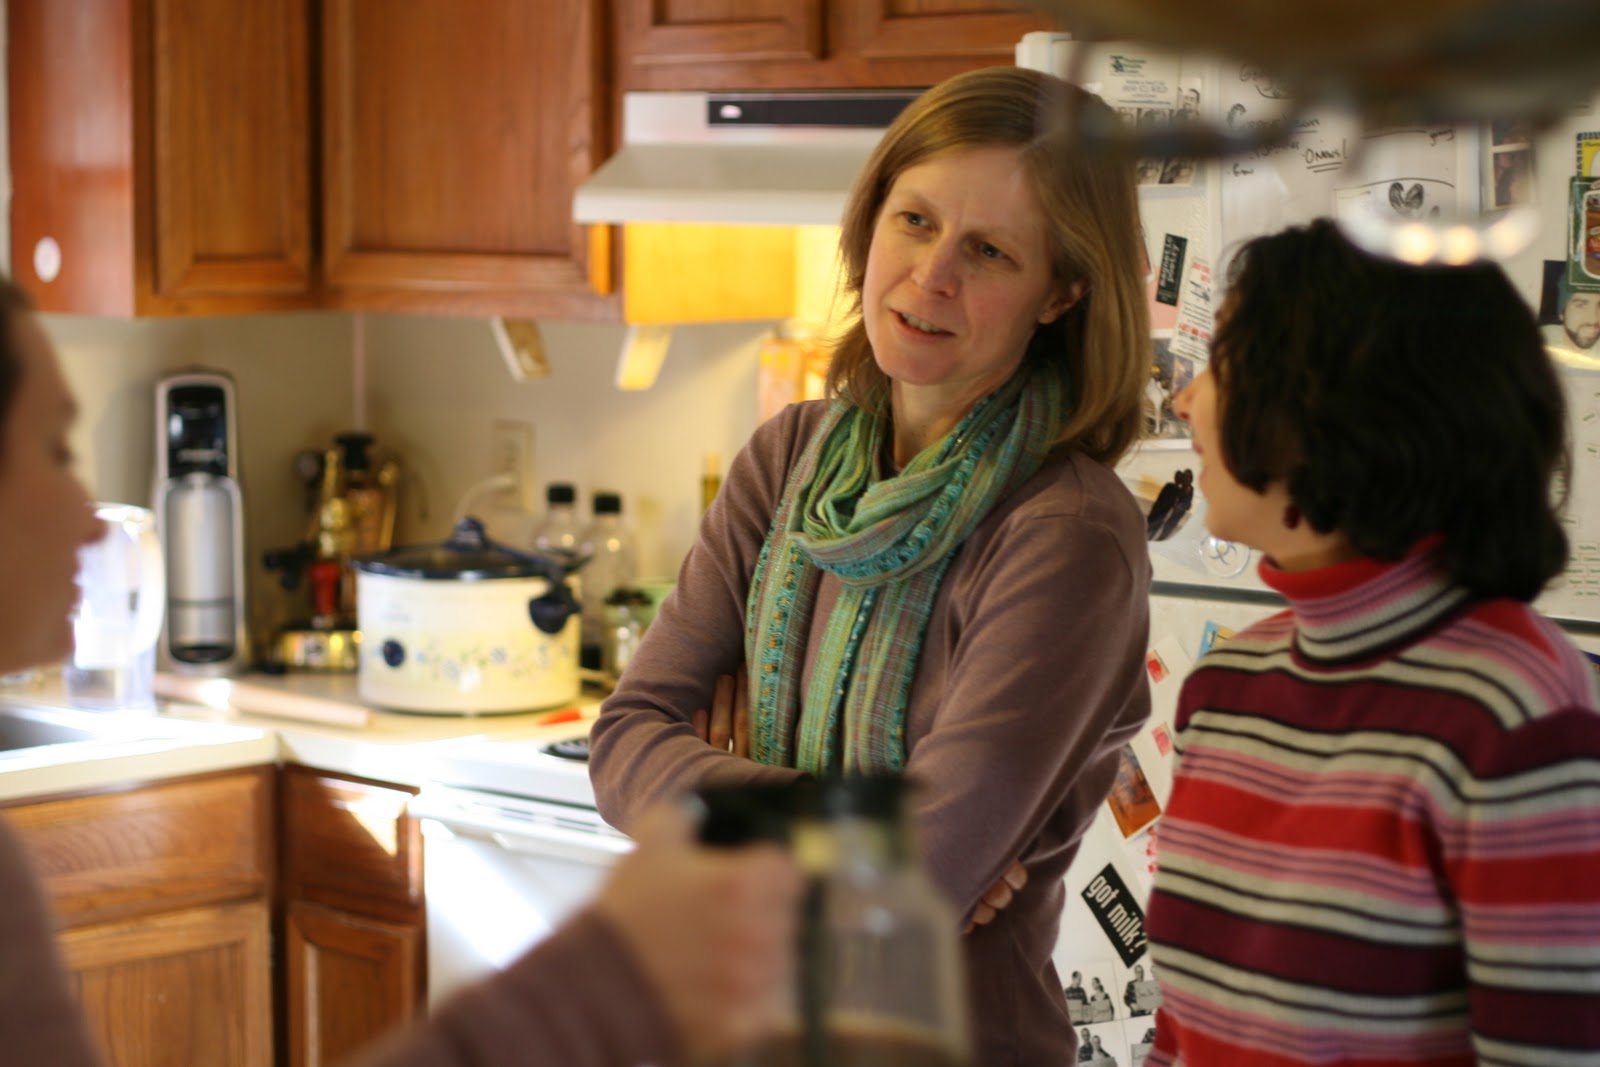
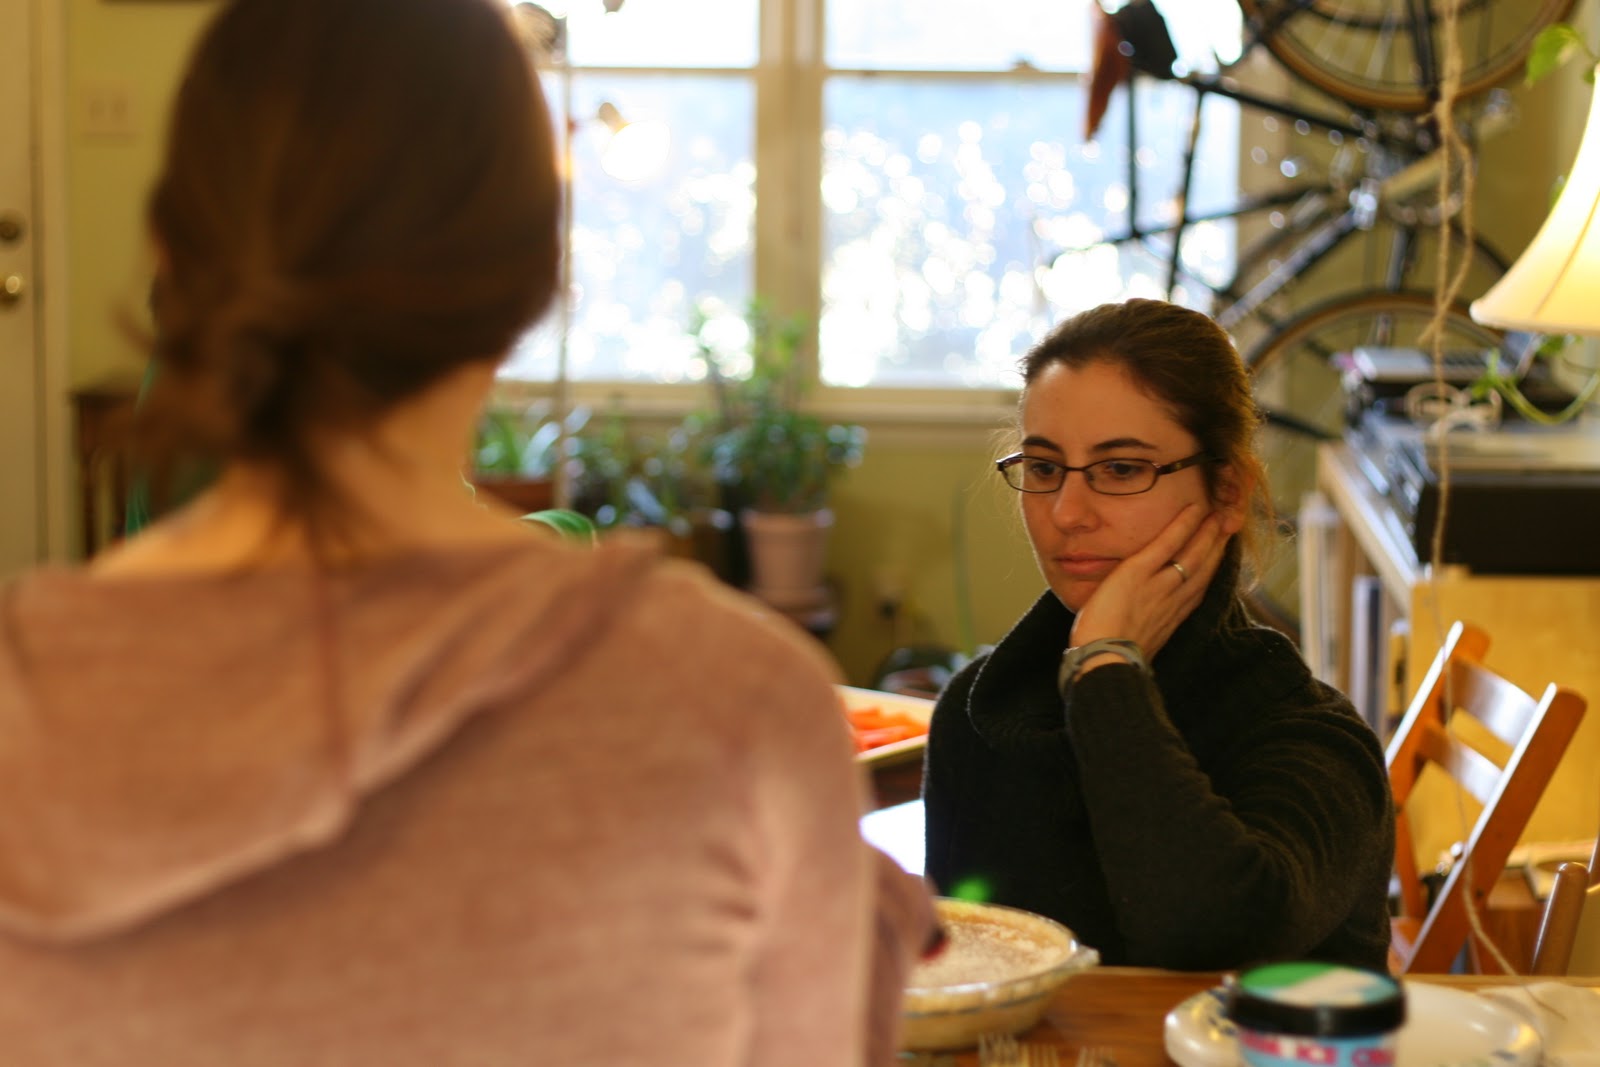
You may or may not be aware of my minor obsession with pie baking. Given this, I of course had to celebrate the holiday in some way or another. I invited a few friends from my graduate program over for a pie potluck (after all there is no better way by which to drown one's graduate school misery than by baking and subsequently eating one-- or several --pies). I made a pie-music play list to go with the pie eating. Among the tunes on the list were: Custard Pie (Led Zeppelin), Pumpkin Pie (Joe Thompson), Country Pie (Bob Dylan), Bake That Chicken Pie (Uncle Dave Macon), Honey Pie (the Beatles), and everyone's favorite, Making Pies (Pattie Griffin). We baked, and then we listened to the pie inspired music while we ate. Oh yeah, and we drank lots of coffee (goes well with pie + we're sleep-deprived). We also drank some yummy ginger liquor-to counteract the coffee effects.

And oh, it was wonderful. We ended up with five pies at the event: Key lime, lemon custard, pumpkin, apple cream with meringue topping, and tomato and cheese. I prepared the latter two pies, and so these are the ones for which I can provide recipes. I give the recipe for the tomato corn pie below; I am saving the recipe for the apple cream pie for another post!
In the meantime I just can't wait until the next pie day. I've heard of people celebrating pie on March 14 (3.14=pi, get it?) Ohhh the possibilities.

I have previously referred to the tomato and cheese pie recipe. However, last time I made this pie, I tried to make the recipe "healthier" (always a bad idea) by creating a butterless, whole wheat crust and using ricotta cheese instead of cheddar cheese and mayonnaise. Well this time I did not hold back. And good lord was result a good one.
I found the recipe for tomato and corn pie here, on the smitten kitchen blog--the recipe she adapted came from Gourmet Magazine.
Basically, first you make a biscuit-type crust, using 2 cups of flour, 1 tablespoon baking powder, and 3/4 tablespoon of salt-whisk those together, then blend in 3/4 cup of cold butter using a food processor/pastry blender/your fingers until the mixture resembles coarse corn meal. Then you add in some milk (3/4 cup, whole milk preferred but use what you have on hand) until you get a nice dough that you can form into a ball. Divide the dough into 2 parts, then roll out one part and place as the bottom crust into a pie dish. Place the second part of dough into the fridge until you're ready to use it.
Even though this is not recommended in the recipe, I prebaked the pie crust for about 15 minutes (place a sheet of buttered aluminum foil on the bottom crust, place some pie weights or dry beans on top of that, and bake for about 15 minutes at 400 degrees).
Then, construct the pie: layer tomatoes (I used one and a half 28 oz. cans of whole plum tomatoes, which I drained very well), grated cheese (7 oz.), herbs (1 tablespoon of chives and 1 tablespoon of basil, chopped), pepper, corn (1.5 cups-i used frozen corn), and a mayonaise (1/3 cup) and lemon juice (2 tablespoons) mixture, then roll our your second half of dough and place on top of your layered pie. Brush the crust with milk to create a nice brown color after baking.
Bake the pie for 30-35 minutes in the oven, at 400 degrees.
Again, you can find the recipe on the smitten kitchen blog. I honestly think that this pie is probably hard to mess up. I substituted canned tomatoes for fresh ones, and frozen corn for fresh corn. The pie was still delicious. I recommend straining the tomatoes in order to avoid a puddle at the bottom of your pie.


Sunday, January 2, 2011
Happy new year fruit salad

Every January 1 we eat a home-cooked brunch. This year we had lots of friends over and prepared all sorts of delights: pancakes, cheese grits, frittata, biscotti... It was fun and delicious-the perfect start to 2011. One of my personal favorite things that we made this year was a fruit salad that consisted of stewed dried fruits and pears. It was delicious-we ate it on top of our pancakes, but I imagine that it would be great on top of ice cream, alone with a bit of whipped cream, or even straight out of a jar.
This recipe is an adaptation/combination of the winter fruit salad on the smitten kitchen blog, a fruit compote that my mom makes, and poached pears. This time I used the spices that were suggested in the winter fruit salad recipe (star anise and vanilla bean) but I imagine that there are many others that would be delicious in addition to these or in combination with them (cloves, cinnamon, nutmeg...)
Happy new year stewed fruit salad
Ingredients
8 cups of water
4 star anise
6-8 large pears, cut into quarters (I used a combination of Bartlett and Bosch)
1 vanilla bean, split down the center lengthwise
About 20 dried apricots, cut in half
About 10 figs cut in quarters
About 10 prunes cut in half
1/4 cup lemon juice
2 cups of granulated sugar
To make the salad
(best prepared the day or night before you intend to eat the salad so that the fruit have time to stew and then cool in the fridge)
1.) Combine the water, sugar, star anise, vanilla bean, and lemon juice in a sauce pan. Bring the mixture to a boil on the stove top, and allow all of the sugar to dissolve, stirring occasionally.
2.) Once the sugar is dissolved, turn the heat off and add the dried fruits and pears to the mixture and transfer to a slow cooker. Slow cook the fruits for 2-3 hours.
(If you don't have a slow cooker, you can simply slow cook the fruits/sugar water mixture at a very low temperature in a sauce pan on the stove top--put a lid on top of the pan).
3.) Once the pears are soft but not falling apart, transfer the mixture to a jar or bowl, and once cool enough, place in the refrigerator to cool. The next morning, enjoy your fruit salad on top of pancakes, ice cream, or on their own.
Note: The morning on which we ate our fruit salad we reduced some of the liquid from the fruit salad in a sauce pan on the stove top until it became a thick syrup. We used this as a delicious spicey syrup for our pancakes, in addition to the fruit. YUM!
Subscribe to:
Posts (Atom)